A Camera Android App written in PicoLisp (Pt. 2)

In the last post, we have defined the main functions of camera app: Checking the camera permissions, taking a picture and storing it in a defined file within the app folder.
In this post, we will finalize the app by adding cache deletion, CSS and name spaces.
Deleting the cache
If you tested the previous version of the app, you might have noticed that the picture does not refresh. This is because the picture is loaded from the cache of the app and is not refreshed.
Luckily, it is very easy to solve it: we only need to add the (clearCache) function somewhere in our code, for example before reloading the page.
'(takePicture (tmp "img.jpg")
   '((Intent)
      (clearCache)
         ...
Adding CSS
Next, let's add our own CSS files to our app. The PilBox searches for a file called lib.css in our app's home folder. So we have two possibilities: We could either write all our CSS specs into lib.css, or simply import other CSS files into lib.css.
I think the second approach is better, because it allows to use multiple CSS-files - for example, a bootstrap layout and an app-specific one:
@import "css/bootstrap.css";
@import "css/camera.css";
I like using the Bootstrap pre-defined containers because it saves a lot of time in the development process. Here you can read how to add CSS classes to PicoLisp GUI components.
Adding icons
We can also add a dedicated icon to our app. It has to be saved to a file called logo.png. Additionally, we can also replace the "take Picture" button by an icon and define it's size and behaviour in our dedicated CSS file:
(gui '(+Style +Able +Button) "button-icon bg-white" '(camera?) T "miasCamera/img/camera.png"
where the class button-icon is defined as:
.button-icon {
   width: 60px;
   height: 60px;
   padding: 5px;
   border: 1px solid #ddd;
   ...
   border-radius: 6px;
   ...
   box-shadow: 0 3px 5px #ccc;
}

.button-icon:hover {
   margin: 5px auto 3px;
   ...
}
which gives it a more button-like look & feel when it is pressed.
Setting the picture size
We also want a responsive size of our picture. It should be centered in the middle and its width should not be larger than the smartphone width.
For this, we can simply add a width: 80%; height auto attribute to the image class, which will take 80% of the parent's container size.
(<div> "d-flex mb-5 justify-content-center" (gui '(+Style +Var +Img) "my-img" '*Picture ))
where CSS is
.my-img {
   width: 80%;
   height: auto;
}
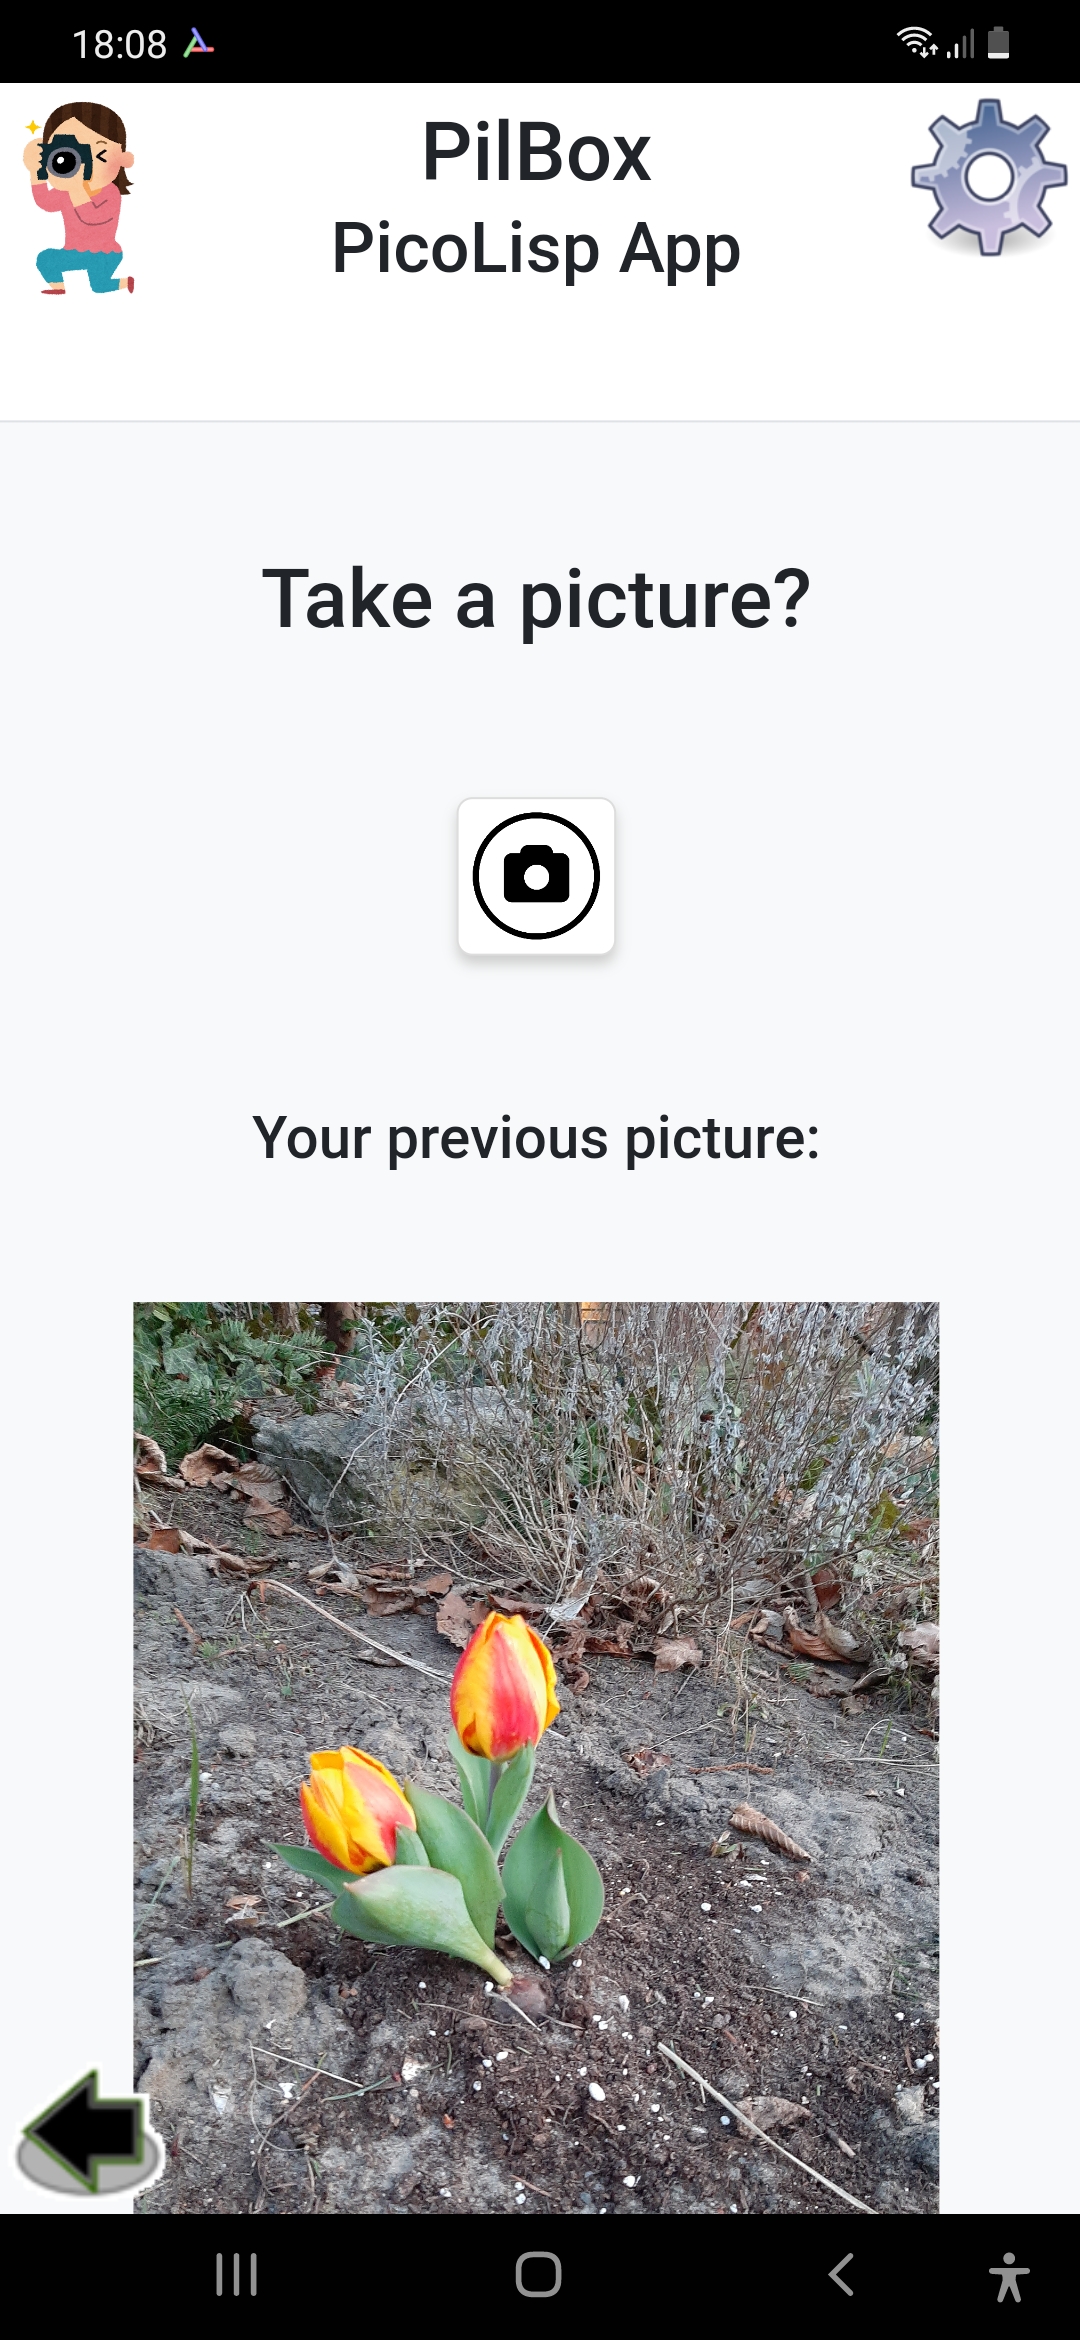
After these modifications, the app should look like this:
Local variables and name spaces
For the sake of readability, we could now introduce a local variable *Picture instead of the full path when we want to address the file.
However, there might be several apps running in parallel in our PilBox app, and maybe other apps also have a local variable called *Picture. So let's make sure that these don't get mixed up by adding our own local name space to the app:
(symbols 'miasCamera 'android 'pico)
(local) *Picture
This means that symbols are first searched in the miasCamera name space, then in android, and finally in pico which is the "standard" PicoLisp namespace.
Now we can set our global variable without worrying about name conflicts.
(setq *Picture "miasCamera/img/img.jpg")
...
   (gui '(+Style +Var +Img) "my-img" '*Picture )
...
Adding the work and start functions
Our app works now without problems. However, it is cleaner to wrap the code to be executed each time the app is opened into a work function, and the code that should only be executed once at start of the app in a start function.
However, in this specific case, the start function is empty because there are no specific things to be loaded.
(start)

(setq *Picture "miasCamera/img/img.jpg")

(de work ()
   (menu "Mia's Camera App"
      ... ) )

(work)
With this, our very first (and not too useful) PicoLisp app is finished!
You can download the source code of the finished app here and the zip-file here.
Sources
- http://software-lab.de