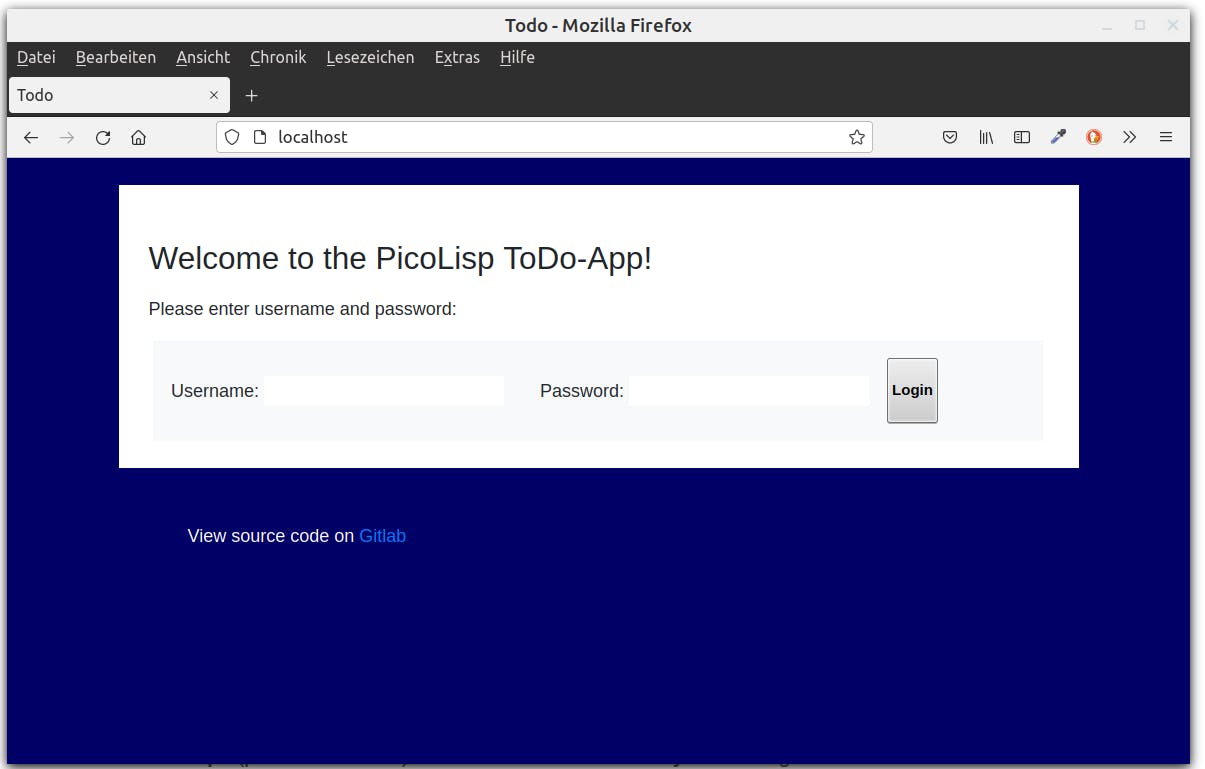
Now let's assume we're finally happy with our little Todo-App. Of course, the next thing we want to do is to host it somewhere public for the world to see. In order to do this, we need a little bit more preparation.
The httpGate utility
Up to now we deployed our little application only to our local application server. In order to create a real webserver, we have some more requirements:
- We need a single application entry port (80 or 443),
- allow PicoLisp applications to run as non-root,
- start application servers on demand,
- handle HTTPS/SSL communication.
In order to fulfill these requirements, we can use the httpGate proxy server.
Installation and start up
There should already be an httpGate executable in the bin folder of your PicoLisp installation (otherwise run make in the src folder).
httpGate needs to be executed with root privileges. Let's test it: First start any PicoLisp application, for example the todo-user-login-rolebased.l script which starts on port 8086.
$ pil todo-user-login.l -main -go +

# in another terminal:
$ sudo ./pil21/bin/httpGate 80 8086
$
The prompt returns immediately because httpGate is starting in the background and creating a proxy server from port 80 to port 8086. Now visit localhost:80, and you should be able to see the running app.

In order to run it as HTTPS, you can pass the certificate as additional parameters:
bin/httpGate 80 8080
bin/httpGate 443 8080 pem/www.domain.key,pem/domain.crt
Defining a config file
Now let's start our app directly with httpGate instead of both processes separately. For this, we are using a simple config file called "names" (the name is arbitrary), which can contain several applications.
todo 8086 mia /home/mia/todo-list-example log/todo ./pil todo-user-login.l -main -go -wait
The structure is as follows:
- "todo" is the name of the application, and the key to this line.
- "8086" is the port where this server should listen at.
- "mia" is the user under whose ID the server should run.
- "/home/mia/todo-list-example" is the working directory where the server should start.
- "log/todo" is a log file to redirect stdout/stderr to.
- The rest of the line "./pil todo-user-login.l ..." is the command to start the application.
Note that we changed the server parameters from debug mode + to production mode -wait.
Note: Don't use ~ as replacement for the home directory, it won't work.
Debugging: Some useful commands
httpGate is not very talkative, so below you can find some additional commands to test the functionality. For example, we can see which processes are running on port 8086 using lsof (list open files):
$ lsof -i :8086
COMMAND    PID USER   FD   TYPE DEVICE SIZE/OFF NODE NAME
picolisp 22821  mia    4u  IPv6 462148      0t0  TCP *:8086 (LISTEN)
Or we can use ps (process status) and search for httpGate:
$ ps ax | grep httpGate
 22711 ?        Ss     0:00 ./pil21/bin/httpGate 80 8080
or even shorter, pgrep:
$ pgrep httpGate
23003
After you confirmed that both the PicoLisp app and httpGate are running, you could try to strace the process. Note that httpGate is opening child processes when a client is connecting, so we need to trace the childs as well (option -f for "follow"):
$ sudo strace -p 23003 -f
strace: Process 23003 attached
accept(3,
If you now connect with the browser, you will get lots of output that might give you a hint of what's wrong. And lastly, you should of course also check the logfiles that are created automatically in the specified folder.
The next steps
This is how far I could reproduce it on my local system. The next step is obviously to set up a real web server. The necessary steps are described in this article on the picolisp.com website for Ubuntu 20.04 / Digital Ocean virtual machine.
I hope this series helped to highlight how you can build a full-stack web app including the database purely in PicoLisp. In the next posts I will give introduce further project examples that could be used as a reference.
Sources
software-lab.de/doc/httpGate.html
Icons made by Freepik from www.flaticon.com
picolisp.com/wiki/?ServerSetup

